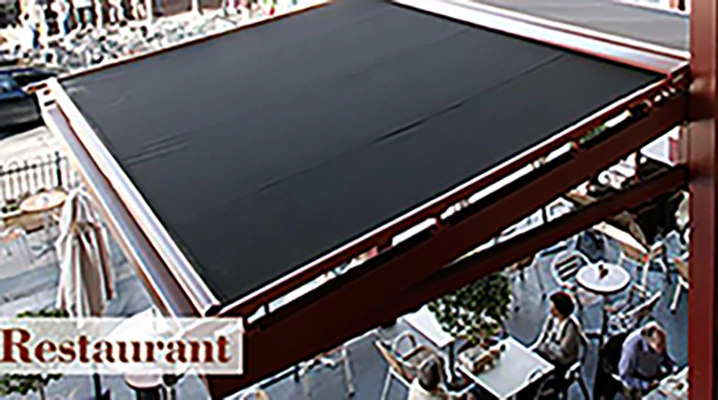
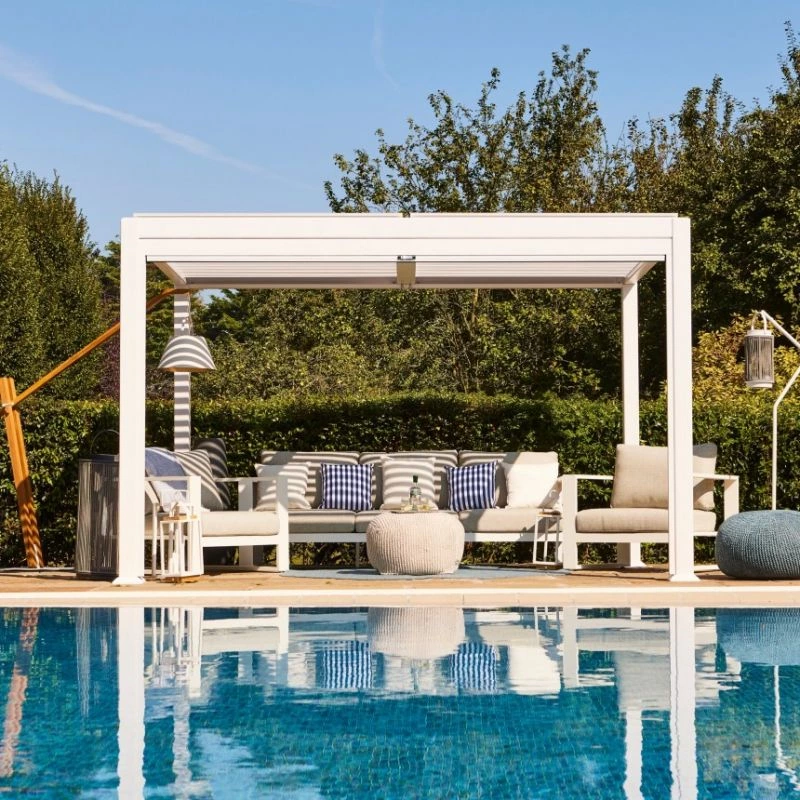
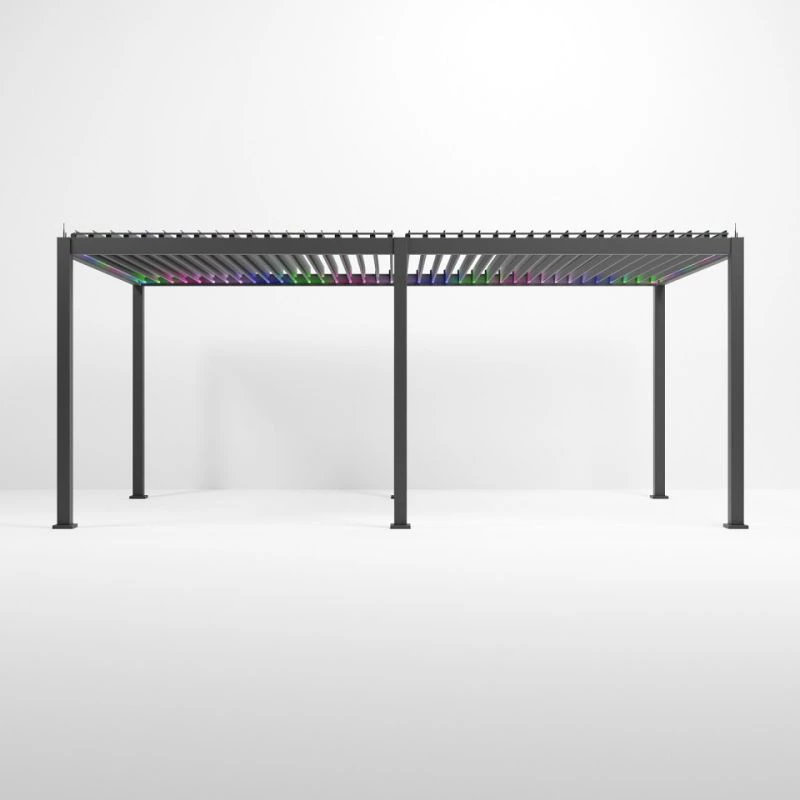
Restaurant Shade Canopy
Time:Reading Volume:1331
The commercial shading structure of the restaurant can help update the existing outdoor dining space and bring many advantages to the restaurant:
| Material | Benefits | Ideal For |
|---|---|---|
| PVC‑Coated Polyester Fabric | Superior waterproofing, UV resistance | Beachfront restaurants, cafés |
| Polycarbonate Panels | High transparency, impact resistance | Upscale terraces, hotel patios |
| HDPE Shade Cloth | Lightweight, cost‑effective, UV blocking | Casual bistros, food trucks |
| Aluminum Composite Panels | Sleek appearance, easy cleanup, weatherproof | High‑end bars, event spaces |
Custom Fabric Prints: Incorporate your logo, signature patterns or seasonal themes directly into the canopy fabric for instant brand recognition.
Two‑Tone and Accent Trim: Use contrasting valances, piping or scalloped edges to frame the canopy in your brand’s secondary colors, creating visual depth and cohesion with interior décor.
Matte vs. Gloss Finish: Select matte fabrics to create a sophisticated, understated look or glossy, water‑repellent panels for a contemporary, luminous effect under ambient lighting.
Cantilevered Arches: Oversize arched canopies add drama and draw the eye upward, providing both shelter and an inviting architectural statement.
Layered Planes: Pair shallow overhangs with deeper back‑set panels to create sheltered “zones” for different seating areas, breaking up a large terrace into intimate dining nooks.
Volume and Height: Vary canopy pitch—steeper angles for swift rain runoff or lower, flatter planes for cozy, enveloping atmospheres—while ensuring adequate clearance for service staff and ventilation.
Green Canopy Systems: Interweave climbing vines or install planter boxes on top of standing frames to blend hardscape with living greenery, softening lines and improving air quality.
Accent Lighting: Embed color‑temperature‑adjustable LED strips along rib edges or behind translucent panels for dynamic evening moods, from warm amber glow to cool blue twilight.
Textural Contrasts: Combine smooth canopy surfaces with rustic wooden beams, woven rattan accents or industrial steel fixtures to tailor the aesthetic to your restaurant’s theme—be it coastal chic, urban loft, or botanical retreat.
Integrated Hand‑Held or Wall‑Mounted Control Panels: Provide intuitive buttons for guests or staff to extend/retract the canopy, control lighting, or activate misting fans without leaving their seats.
Built‑In Infrared Heaters: Discreetly mount low‑glare heat elements on crossbars to keep guests warm on cool nights, extending service hours comfortably into autumn and spring.
Mesh Sidewalls and Zip‑Up Curtains: Offer optional insect screens, windbreaks or rain‑proof side panels that zip into hidden channels, converting open‑air patios into fully enclosed, all‑weather dining rooms.
Festival and Event Overlays: Attach temporary grommet‑on fabric banners, bunting or seasonal drapes to the canopy frame for holiday markets, wine tastings or live‑music evenings.
Local Art and Murals: Commission local artists to paint or stencil the canopy skirt with evocative scenes—vineyard landscapes, city skylines or abstract motifs—that resonate with your neighborhood’s identity.
Changeable Valances and Accents: Design valances on hidden Velcro or magnets so colors and patterns can be swapped out monthly or for special promotions, keeping the look fresh without full canopy replacement.
Before installing your restaurant shade canopy, start with a careful site survey: measure your patio’s dimensions at multiple points, note any slopes or obstacles, and ensure you have at least 200–300 mm of clearance for supports. Decide whether you’ll use foot‑mounted posts, wall‑brackets, or ceiling‑hung hardware based on available structure and local wind‑load requirements—and if your canopy spans a large area or is in a high‑wind zone, a quick consultation with a structural engineer can save headaches down the road.
Choose corrosion‑resistant materials such as powder‑coated aluminum or marine‑grade stainless steel for frames and fixtures, and pair them with UV‑stable, mold‑resistant fabrics rated for at least five years of exposure. For complex installations—think multi‑bay canopies or custom shapes—professional installers can handle flashing, waterproof sealant detailing, and final inspections. If you opt for a heavy‑duty DIY kit, look for pre‑drilled aluminum profiles, clear instructions, and vendor support lines.
Finally, secure any required municipal permits before you begin, and schedule a post‑install walkthrough: test retractable mechanisms, check canopy tension, and run a hose test to catch potential leaks. A brief handover with your facilities team—covering routine cleaning, seal inspection, and lubrication points—will help keep your canopy looking great and functioning flawlessly for years to come.
We use cookies to collect information about how you use this site. We use this information to make the website work as well as possible and improve our services.